The Best Elden Ring DLC Talismans In Shadow of the Erdtree Are Unlocking Powerful New Strategies
The best Elden Ring Talismans are the key to unlocking the power of Shadow of the Erdtree's most powerful builds.

Elden Ring players know that the best Talismans are key to the most powerful builds in the game. These seemingly simple accessories often enable new styles of play and simply enhance others. While they are designed to be used in combination with each other to trigger optimal effects, some are independently powerful enough to be meritorious on their own.
Those are the Talismans we’ll be looking at today. While they are best used in combination with other Talismans and similar build elements, they are the best that the Shadow of the Erdtree DLC has to offer.
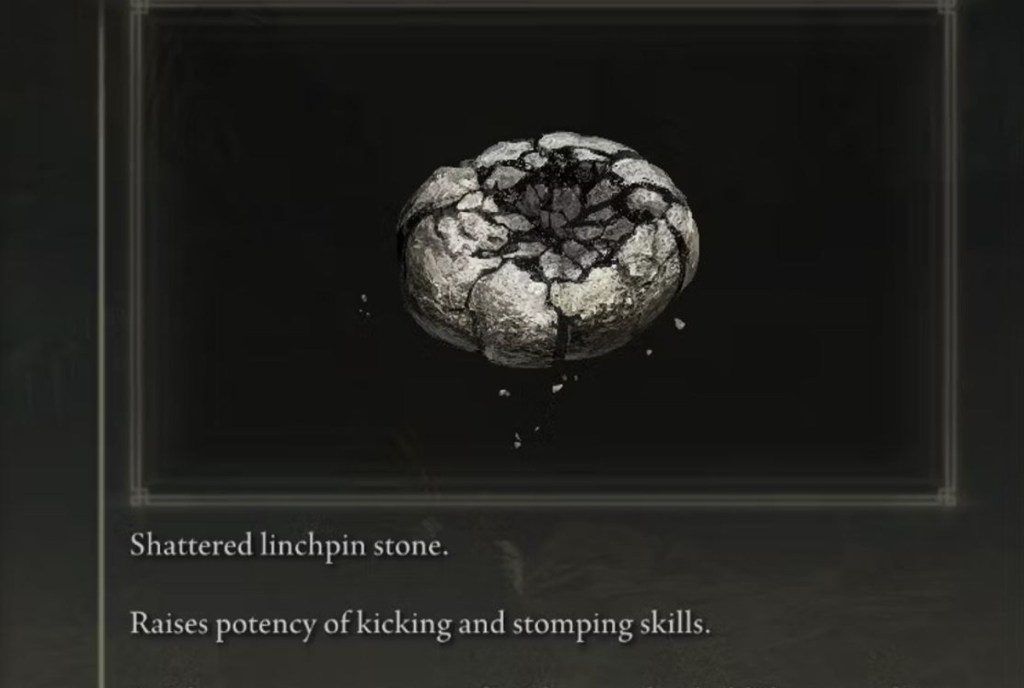
Shattered Stone Talisman
This may look like a largely useless Talisman, but this one should not be overlooked if you are at all interested in pursuing a martial arts build in Shadow of the Erdtree.
This Talisman grants a 10% damage buff to the kicks and stomps that those martial arts builds most often rely on. It’s not quite a global 10% damage buff, but it’s honestly not that far off if you happen to build your character properly. It can also be used to enhance the stomp effects that some other builds rely on, but it is practically a necessity in the Dane’s Footwork build that relies almost entirely on kicks.

Blessed Blue Dew Talisman
Slowly restoring FP probably doesn’t sound like the most exciting effect in the world. I hear you, and I tend to agree. However, this is one of those Talismans that is kind of hard to appreciate until you actually use it.
Blessed Blue Dew Talisman won’t do much for FP-starved caster builds, but it’s a game-changer for melee players who occasionally use FP to utilize a Weapon Skill. This Talisman makes it much easier to simply let your FP bar replenish between fights rather than having to waste a valuable Flask charge and spot. It’s significantly more useful than its HP equivalent Talisman.

Cerulean Seed Talisman +1/ Crimson Seed Talisman +1
I’m listing these two together since they’re essentially two sides of an especially valuable coin.
Look, Shadow of the Erdtree is tough, and the DLC gives you very few ways to make things easier without having to grind for upgrades. These Talismans are one of the few outright gifts the game gives you when you’re leveling. They increase the potency of your Flasks by a respectable amount that you certainly start to feel during those fights that leave you feeling especially thirsty. You can eventually get rid of them, but you’ll get a lot out of them before that happens.
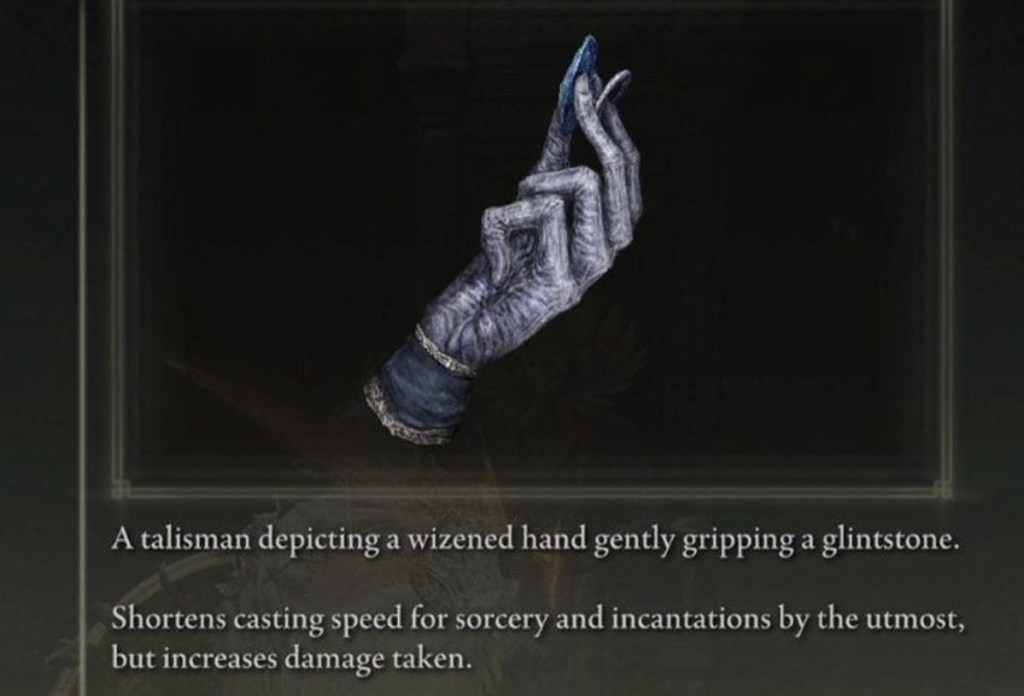
Beloved Stardust
Anytime a Talisman warns you that it will increase the damage you take, you should certainly proceed with caution. In the case of Beloved Stardust, having to eat the roughly 25% more damage while you have it equipped is certainly a notable drawback.
The tradeoff is arguably worth it, though. What this Talisman really does is grant you the fastest possible cast time (minus other possible cast time benefits you can get from your flask and other items). On its own, that’s obviously quite nice. What you really need to consider, though, is that this Talisman allows you to build a long-range casting character who doesn’t have to dump so many points into Dexterity. You’ve got to be careful when using this Talisman, but it certainly has its uses.
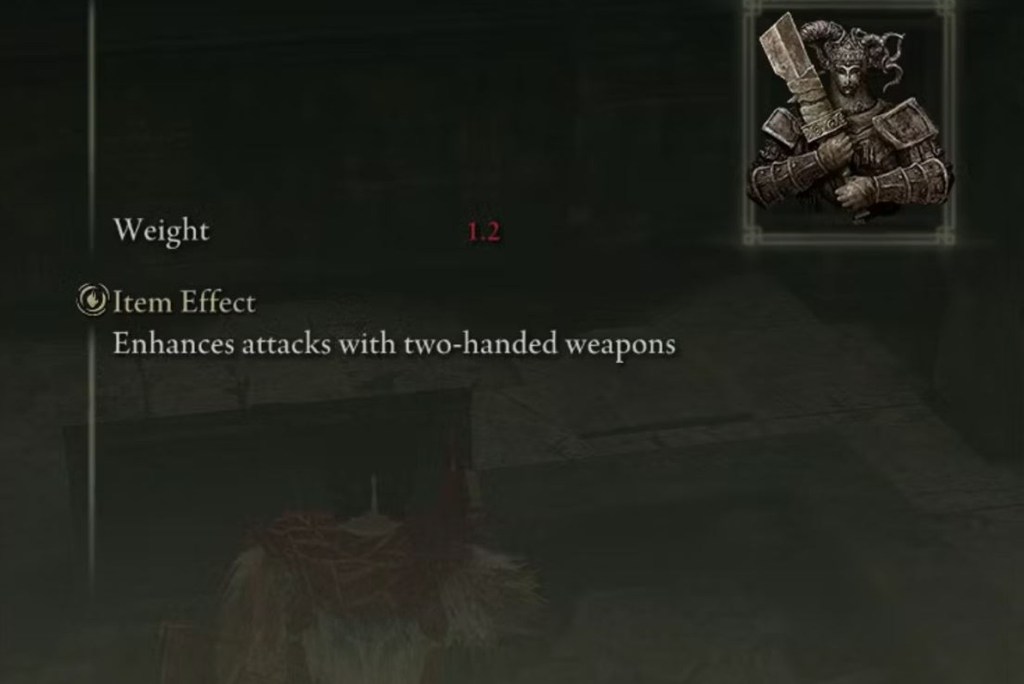
Two-Handed Sword Talisman
This is the best Talisman in Elden Ring in terms of pure upside vs. conceivable downsides.
When this Talisman is equipped, you get a 15% damage boost when using a Two-Handed weapon (meaning a weapon you are actively holding with two hands rather than a weapon in each hand). That’s a massive, consequence-free damage buff for a playstyle that already enabled some of the highest raw damage in the game. It’s pretty ridiculous that this thing exists in terms of balancing. When combined with other damage-boosting items and effects, it enables otherworldly builds.
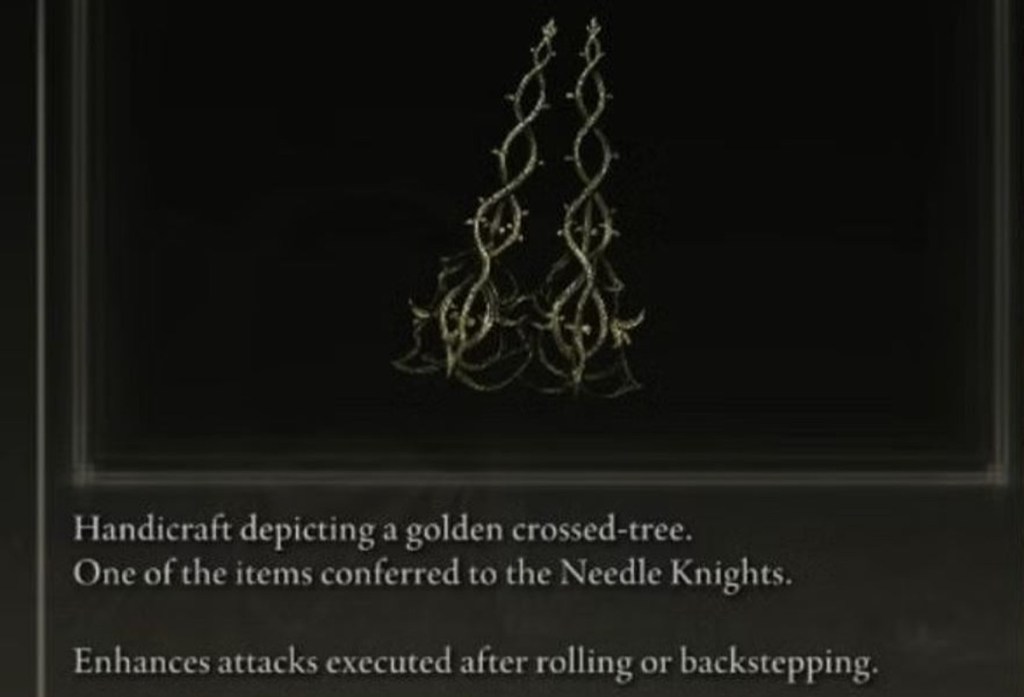
Retaliatory Crossed-Tree
This one is also pretty nutty. Retaliatory Crossed-Tree grants you somewhere around a 15% damage buff after you execute a roll or backstep. For the vast, vast majority of melee builds, that translates to a nearly constant damage buff during boss fights (especially while leveling).
However, that’s only one way to look at this thing. So far as I can tell, this damage buff is not dependent on actually dodging an incoming attack. So, if you simply roll or backstep before executing an attack, you get a very nice damage buff for basically nothing. This could end up being a tight fit into some endgame builds, but it definitely deserves a nod for its free damage potential.
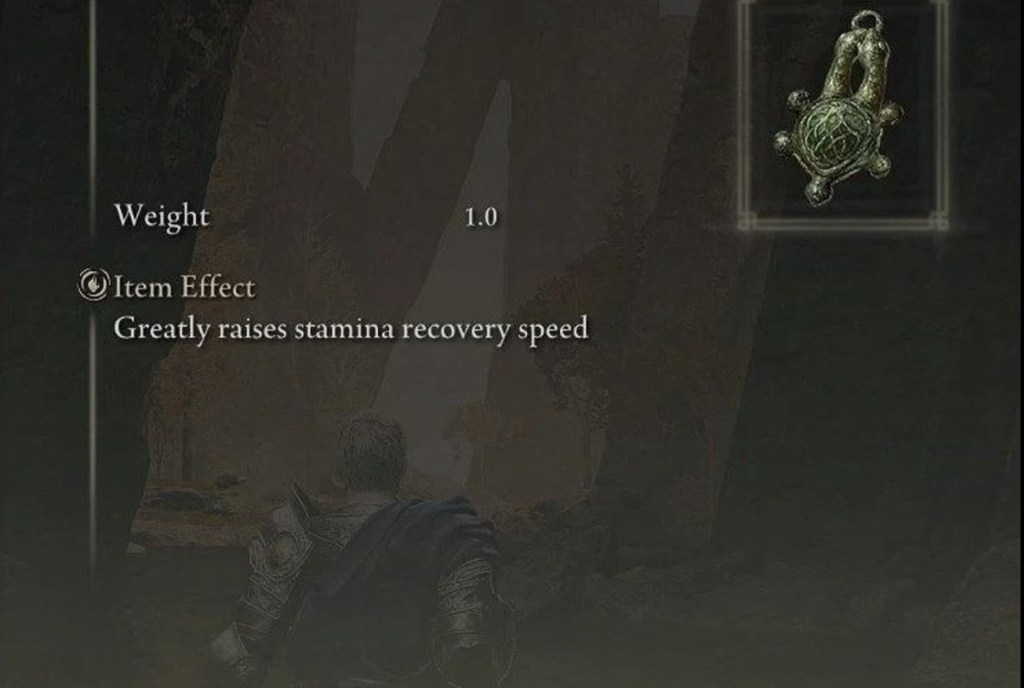
Two-Headed Turtle Talisman
This Talisman that increases your Stamina regeneration speed certainly doesn’t break the game. You’ll notice the difference if you equip and unequip it, but you won’t be able to trigger some kind of infinite Stamina scenario with it or negate the Stamina regeneration mechanic.
For melee players, though, nothing adds up more in the long run than Stamina regeneration. It is the essence of pretty much everything that you’re trying to do. While proper Stamina management is an irreplaceable skill, you’d be amazed by how much this thing helps during longer fights or simply enables a more aggressive playstyle for quicker runs through areas. It won’t do much for casters, but it’s becoming increasingly essential for many melee and tank builds.

Aged One’s Exultation
Yes, this Talisman is amazing in any Madness build you can cook up. Unfortunately, many pure Madness builds just can’t quite compete with some of the best builds out there. That should make this Talisman litter more than a nice idea.
Crucially, though, this Talisman’s 30-second damage buff triggers if you cast Madness on yourself. Given that Howl of Shabriri is one of the best damage buff spells in the game and happens to also trigger the Madness effect, this Talisman instantly supports some of the most powerful builds in the game. This Talisman is also key to a lot of status effect builds which find cheap ways to generate those ailments to massively boost their overall damage.
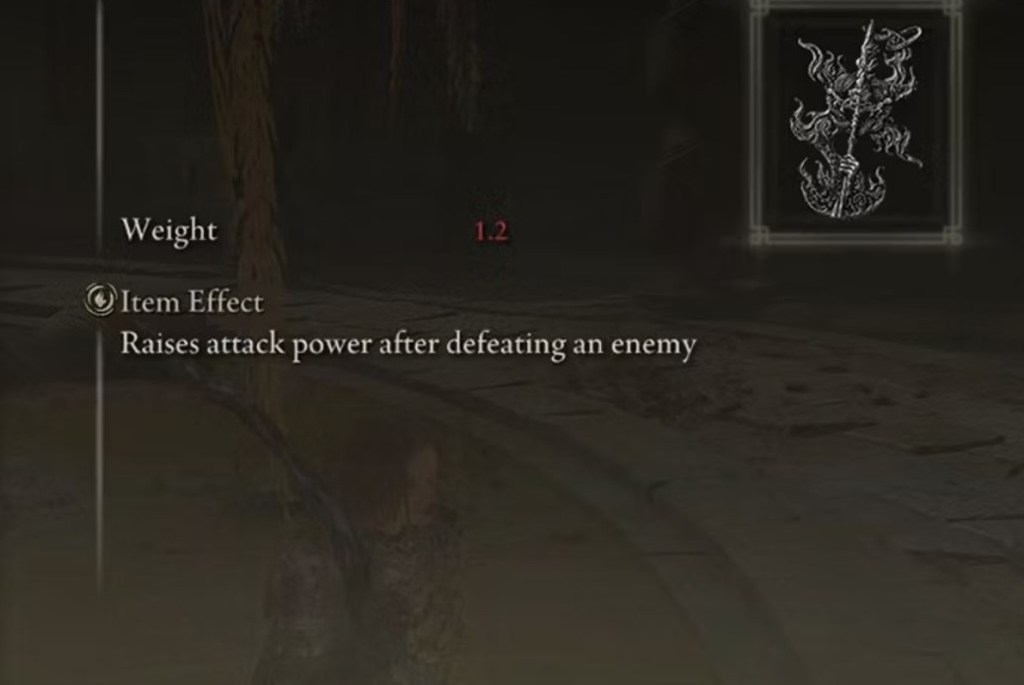
Crusade Insignia
Obviously, this Talisman doesn’t do much during most boss fights, which does hurt its overall value somewhat. Swapping out this Talisman during those fights is more than worth it when you consider the benefits it offers during every other situation.
In the various enemy-dense dungeons and open-world areas you’ll find in Shadow of the Erdtree, this Talisman essentially grants you a permanent damage buff for doing what you were doing anyway: killing those enemies. Even better, you can acquire this Talisman very early into the DLC, which makes it that much easier to farm enemies and explore enemy-dense areas.

Written by
Matthew Byrd is Games Editor at Den of Geek and an entertainment enthusiast living in Brooklyn. When he's not exploring the culture of video games, he's…